Fixing a Leaky Kitchen Sink Drain
Frustrated with a leaky kitchen sink drain? This guide provides step-by-step instructions and solutions for various leak types. Get your sink flowing smoothly again – quickly and easily! Learn how to identify the problem and fix it yourself.
A leaky kitchen sink drain pipe is a frustrating problem․ It can lead to water damage, unpleasant odors, and costly repairs if left unattended․ Understanding the source of the leak is the first crucial step․ This comprehensive guide will walk you through identifying the problem, gathering the necessary tools, and performing the repair, ensuring a watertight and functional sink for years to come․ We’ll cover various scenarios and offer solutions for different types of connections․
Identifying the Source of the Leak
Before you begin any repairs, accurately pinpointing the leak’s origin is paramount․ Is the leak coming from the connection between the sink drain and the tailpiece? Or is it further down the line, perhaps at the connection to the P-trap? Carefully examine the entire drain assembly, paying close attention to all joints and seals․ Look for signs of corrosion, cracks, or loose connections․ Sometimes, a simple visual inspection is sufficient; other times, a closer look, potentially involving moving some components, might be necessary․ You may need a flashlight to fully illuminate the area and see any subtle cracks or water stains․
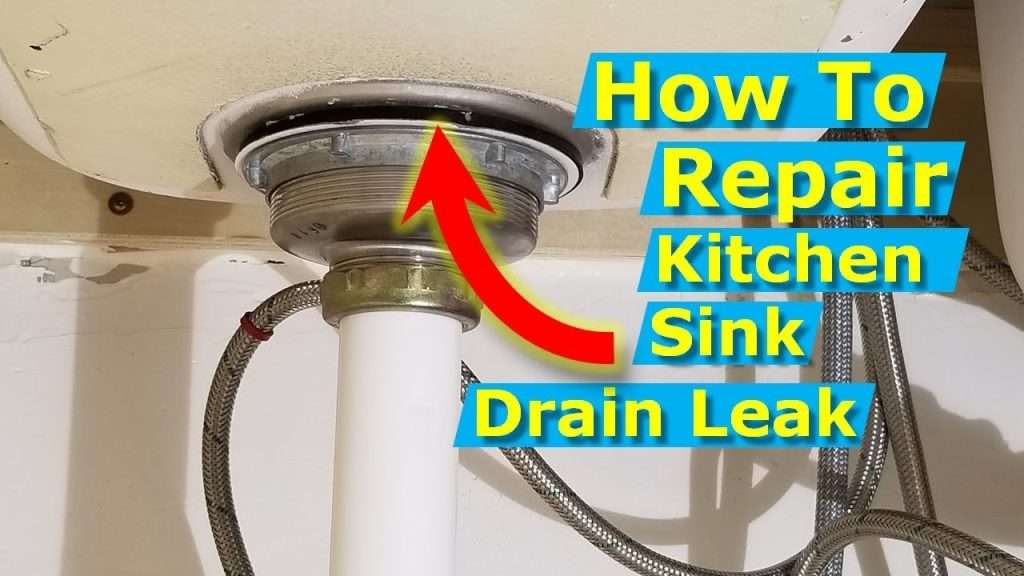
Inspecting the Sink-Tailpiece Connection
The connection between your sink and the tailpiece is a common trouble spot․ Over time, the nuts and washers securing this connection can loosen, leading to leaks․ Carefully check the tightness of these components․ If they are loose, simply tightening them might solve the problem․ However, if the washers are worn or damaged, replacing them is essential for a long-term solution․ Remember to use the correct size washers and ensure they are properly seated before tightening․
Examining the Tailpiece-P-Trap Connection
The connection between the tailpiece and the P-trap is another frequent source of leaks․ This is often due to the slip nuts and washers becoming loose or damaged․ Similarly to the sink-tailpiece connection, inspect these components for tightness and wear․ If the nuts are loose, tighten them carefully․ If the washers are damaged or worn, replace them with new ones․ Make sure to use plumber’s putty to create a watertight seal around the slip nuts․ This will help prevent leaks over time․ Don’t overtighten the nuts, as this could damage the pipes or the connections․
Checking the P-Trap-Drainpipe Connection
The connection between the P-trap and the drainpipe leading to the main drain line is another area prone to leaks․ This connection, like the others, utilizes slip nuts and washers․ Carefully inspect these components for any signs of damage or looseness․ If you find any issues, tighten the nuts or replace the washers as necessary․ Ensure a good seal is achieved with plumber’s putty to guarantee a long-lasting repair․ A persistent leak here could indicate a more serious problem requiring professional assistance․
Gathering the Necessary Tools and Materials
Before you begin the repair, gather all the necessary tools and materials․ This will streamline the process and prevent interruptions․ Having everything readily available will make the repair much more efficient․
- Adjustable wrench
- Basin wrench (for hard-to-reach nuts)
- Plumber’s putty
- Replacement washers
- Replacement slip nuts (if needed)
- Screwdrivers (Phillips and flathead)
- Bucket or towels (to catch water)
- Flashlight
- Gloves
Having these items on hand will ensure a smooth and efficient repair process․ If any components are damaged beyond repair, you’ll need to acquire replacements at a local hardware store․ It’s often best to purchase slightly higher quality components to enhance durability and longevity․
Repairing the Leaky Connection
With the leak identified and the necessary tools gathered, you can begin the repair․ Remember to turn off the water supply to the sink before starting any work․ This will prevent further water damage and make the repair process safer and cleaner․ Once the water is off, you can proceed with the repair․
Step-by-Step Repair Process
- Locate the Leak: Carefully inspect the drain assembly to pinpoint the exact location of the leak․
- Loosen the Connections: Use the appropriate wrench to carefully loosen the slip nuts securing the leaky connection․ Work slowly and methodically to avoid damaging any components․
- Remove the Damaged Components: Once the nuts are loosened, carefully remove the affected parts, such as worn washers or slip nuts․ Be prepared for some water spillage as you remove these components․ Have your bucket or towels ready to absorb any water․
- Clean the Connection Points: Thoroughly clean the connection points of any old plumber’s putty or debris․ A clean surface ensures a strong and watertight seal․
- Apply New Plumber’s Putty: Apply a small amount of plumber’s putty to the threads of the new slip nuts or around the connection points, as appropriate․ Ensure the putty is evenly distributed․
- Reassemble the Drain Assembly: Carefully reassemble the drain assembly, ensuring that all components are correctly seated and tightened․ Avoid overtightening, which could damage the pipes or the connections․ Tighten everything hand-tight first, then use your wrenches․
- Test for Leaks: Turn the water supply back on and carefully check for any remaining leaks․ If a leak persists, you may need to repeat the process or seek professional help․
Preventing Future Leaks
Regular maintenance is key to preventing future leaks․ Periodically inspect your kitchen sink drain assembly for any signs of wear or damage․ Tighten any loose connections and replace worn washers or gaskets as needed․ This preventative maintenance can save you time, money, and frustration in the long run․ A proactive approach will help ensure your drains remain leak-free for many years to come․
- Annual Inspection: Schedule an annual inspection of your kitchen sink drain assembly to check for any loose connections, cracks, or corrosion․
- Careful Cleaning: Avoid using harsh chemicals that can corrode the drain pipes and connections․
- Prevent Clogs: Regularly clear clogs to prevent excessive pressure on the drain assembly․
- Immediate Repair: Address any minor leaks promptly to prevent them from escalating into larger, more costly problems․
Addressing a leaky kitchen sink drain pipe promptly is crucial․ By following the steps outlined in this guide, you can effectively identify the source of the leak, gather the necessary materials, and perform the repair․ Remember that preventative maintenance plays a significant role in preventing future leaks․ With careful attention and regular inspection, you can keep your kitchen sink drain functioning smoothly and efficiently for years to come․ By addressing this issue proactively, you avoid potential water damage and more extensive, costly repairs down the line․ A little preventative maintenance goes a long way in ensuring the long-term health of your plumbing system․ Remember, safety first! If you are uncomfortable performing this repair yourself, it’s always best to call a qualified plumber․